MRI装置 解体・搬出 事例
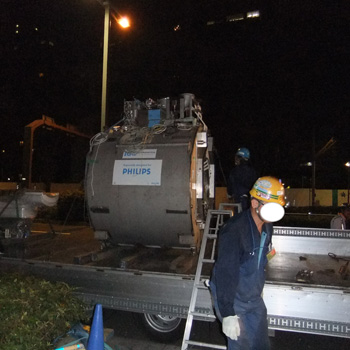
消磁後、ガントリー解体開始。1階MRI室壁開口し、搬出ルート床を剥がし補強。屋外への搬出口となるサッシを外し屋外へ。その後車両へ積込。
作業日程:2日
消磁の手配や作業計画書の作成を行い、新装置への入替の場合、新装置メーカー様と連携し新装置搬入が円滑に進むよう既存装置撤去を行います。
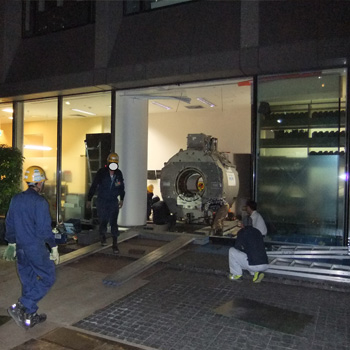
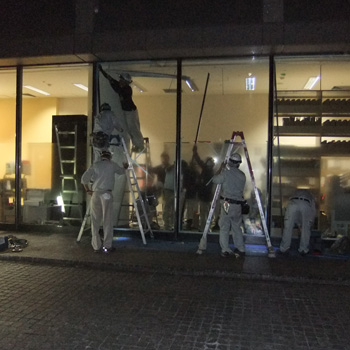
屋外への搬出口の開口
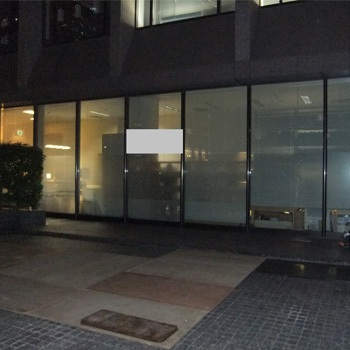
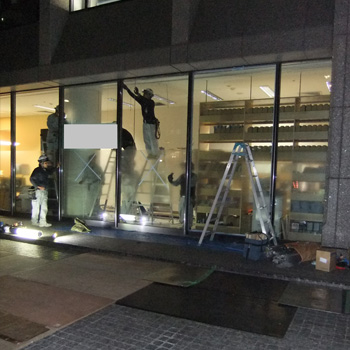
サッシを外し屋外への搬出ルートを確保。
※事前下見により搬出経路を確認し、医療機関様へ相談し撤去計画書としてまとめ、院内の各部門へ情報共有・説明を行い、当日の作業を行います。
解体作業
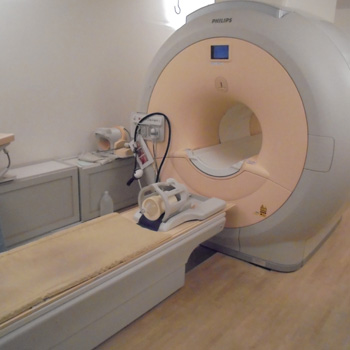
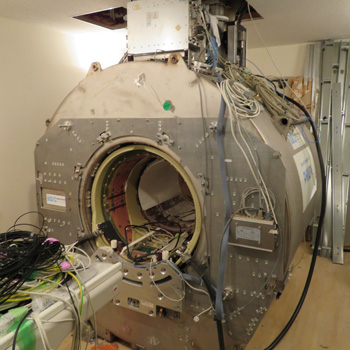
メーカーによる消磁作業後、解体開始。
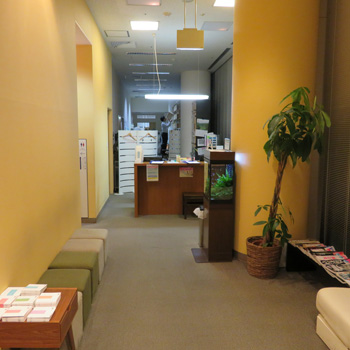
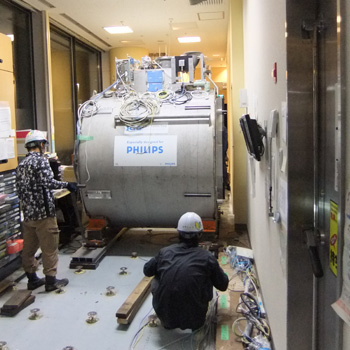
搬出ルート確保・養生
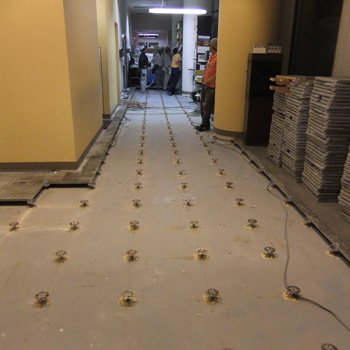
搬出ルートの床がMRIの加重に耐えられない場合、上記のように床を剥がし養生をし搬出ルートの確保を行います。
※事前下見時に設置状況・搬出ルートを把握し、状況に応じた対応・対策を講じます。
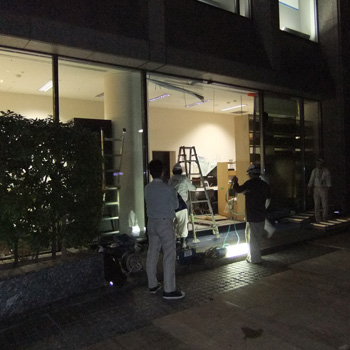
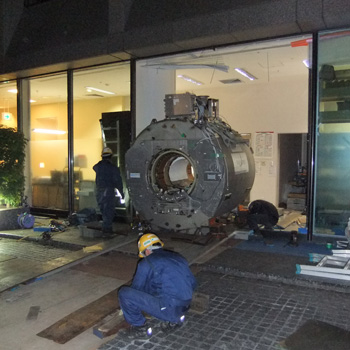
MRI室壁開口~搬出
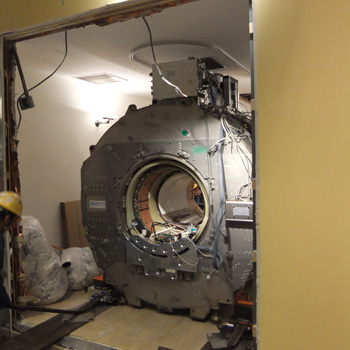


MRI室の壁開口後、搬出開始。

屋外への搬出口の原状復帰
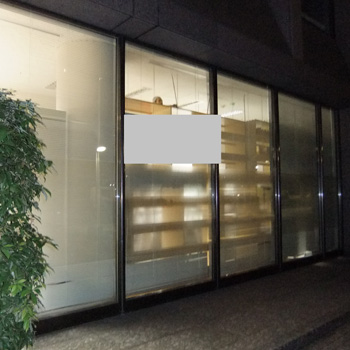
装置搬出後、サッシを設置し直し元の状態へ。